Step 1: Pick a simple, bold image
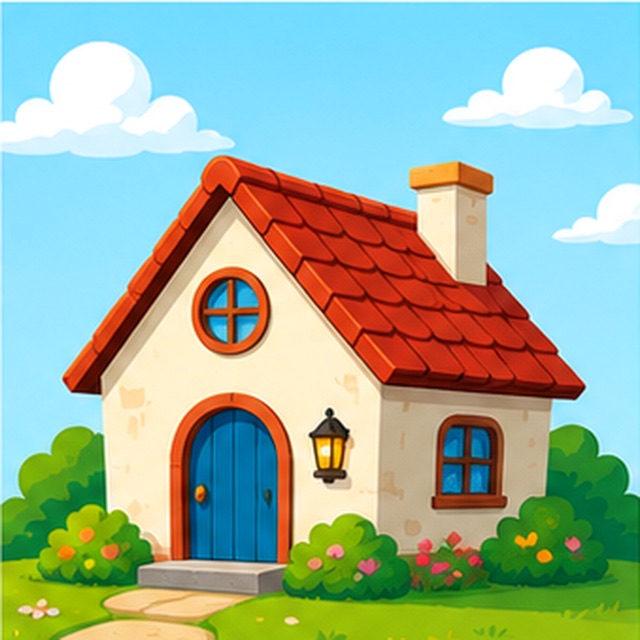
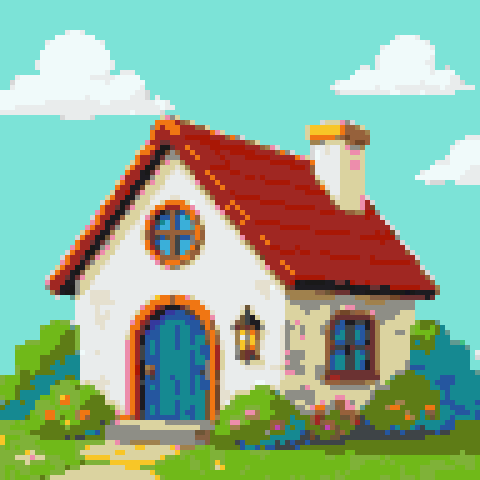
Logos, flags, game sprites, and characters with clear outlines work best. Photos with soft gradients turn into a muddy mix of blocks, so start with something graphic and high-contrast.
Step 2: Set the width in blocks
Width is everything here because it decides how many blocks you place. The generator matches your image to real Minecraft blocks and shows the total instantly. A 128-wide build is already over ten thousand blocks, so pick a width you are actually willing to place.
Tip For survival, keep the width small — you have to gather every block. For creative, go as wide as you like.
Step 3: Read the material list
The tool tells you exactly how many of each block you need, sorted by amount. Export it as a CSV and divide each count by 64 to plan how many stacks and chests you will fill.
Step 4: Wall art or map art
A flat block layout can be built two ways: stand it up as a wall for a mural you view head-on, or lay it flat as map art viewed from above. Both use the same block list — it is just orientation.
Step 5: Build from the blueprint
Download the blueprint PDF, gather the blocks from the material list, and build row by row. Working from the bottom up and left to right makes it easy to keep your place on large builds.