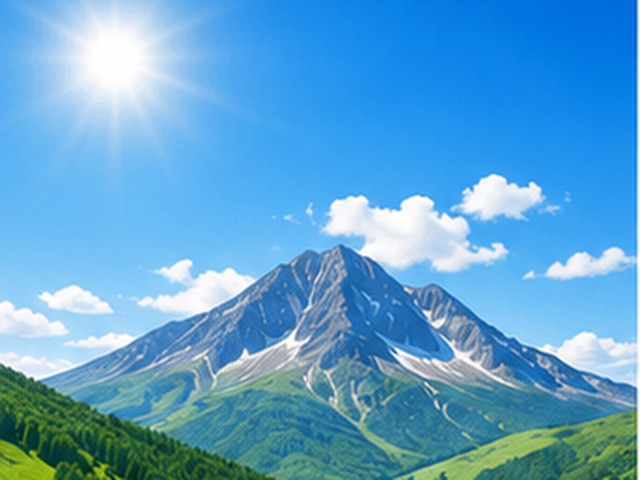
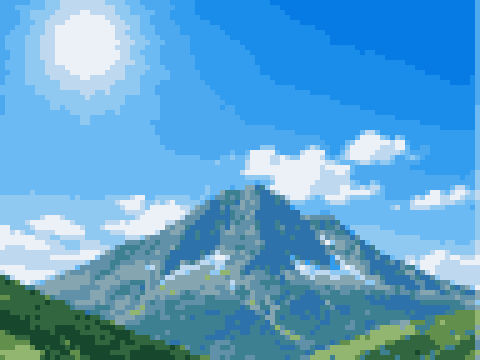
Step 1: Upload your image
Start with the clearest version of your image you have. PNG, JPG, WEBP, and GIF all work. Everything is processed in your browser, so nothing is uploaded to a server.
If your subject is small or lost in a busy background, crop to it first. Pixel art has very few cells to work with, so a tight crop always beats a wide one.
Step 2: Set the pixel size
Pixel size is how many cells wide your art is. This is the single biggest lever. A low number (say 32) gives bold, chunky, abstract pixels; a higher number (96–128) keeps more detail.
Drop the size until the shapes read cleanly, then stop. If you can still tell what it is at a small size, you have found the sweet spot.
Tip Match the size to the use: 32 for icons and avatars, 64–128 for detailed art you will look at up close.
Step 3: Reduce the colors
Real pixel art uses a limited palette. Fewer colors force cleaner shapes and give that instantly recognizable retro look. 8–16 colors is a good starting range.
You can let the tool pull a palette from your image automatically, or lock a retro palette like Game Boy or PICO-8 for a specific era feel.
Step 4: Decide on dithering
Dithering scatters two colors together to fake extra shades. Turn it off for flat, poster-like art such as logos. Turn it on for gradients and soft shading — skies, skin, metal — where you want smooth transitions without adding colors.
Step 5: Download
Export a PNG. The tool upscales the small grid with hard, crisp pixels so it stays sharp wherever you use it — avatars, game mockups, prints, or social posts. There is no watermark.