Step 1: Choose the right image
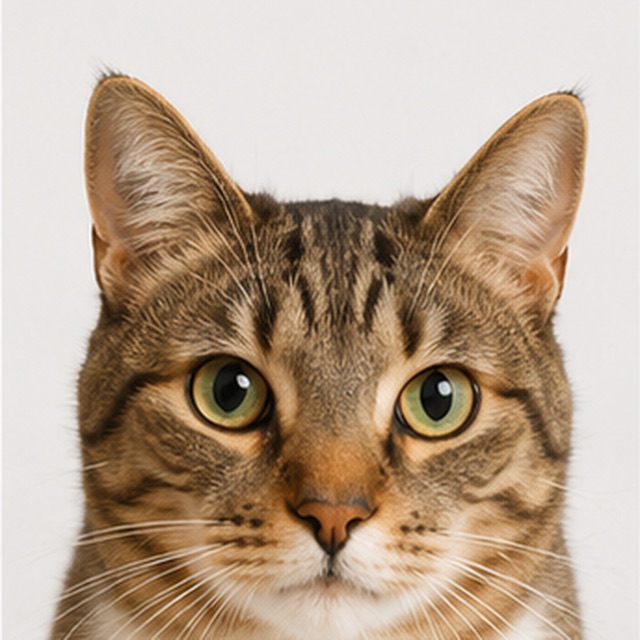
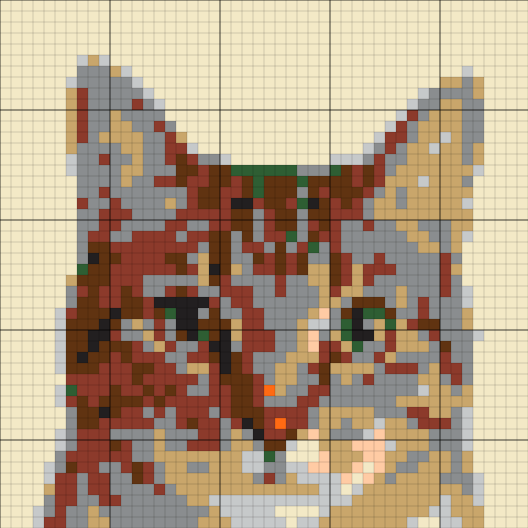
Bold, simple images bead best — characters, logos, emoji-style art. Photos with soft shading need many bead colors and get complicated fast, so crop tight to your subject and keep it simple.
Step 2: Match your pegboard size
Set the width in beads to match your board. A standard square pegboard is about 29×29 beads; larger designs span several boards joined together. For a first project, stay within one board.
Tip Fewer beads and bolder shapes are far easier — and more fun — to peg than a highly detailed pattern.
Step 3: Check the color counts
The generator matches your image to common fuse-bead colors and tallies exactly how many of each you need. Check the legend before you start so you do not run out of a color halfway through.
Step 4: Print and peg
Download the printable PDF. It has the grid and a numbered color legend so you can follow it square by square. Bold lines every ten cells help you keep your place on bigger patterns.
When you finish pegging, cover with parchment paper and fuse with an iron following your bead brand’s instructions.